
Table of Contents

In Episode 4 of “Ask Danny,” I’m chatting with my longtime mate and drywall specialist Mark Rutherford — “The Drywall Expert.”
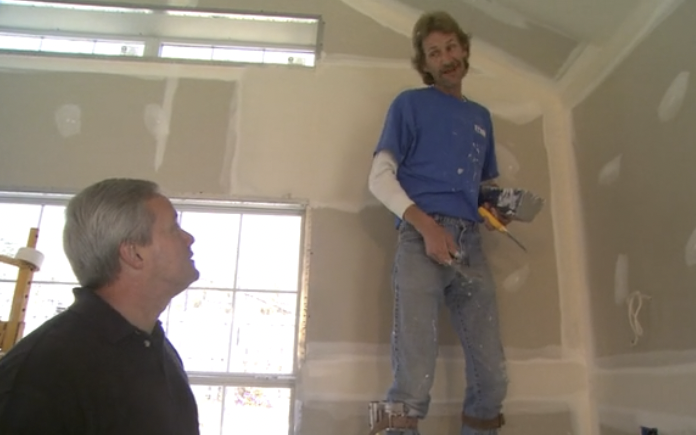
About Mark Rutherford
Mark Rutherford has labored with drywall on new design and reworking tasks for 40 many years.
I initially fulfilled Mark in 2007 whilst doing the job on a match space addition for an episode of Today’s Home owner Tv set.
He currently lives in southwest Pennsylvania.

Drywall Nail Pops
Why does a nail pop take place, and what is the best way to correct it?
Mark: Nail pops take place when a nail or screw arrives unfastened below drywall and results in a bulge or “pop” in the wall.
They typically come about with new development inside of the very first year. That is since anything is drying out and settling — the property is seriously “finding itself.” I generally say it is sort of like a residing man or woman.
Nail pops are typical close to stairways for the reason that the recurrent stepping motion loosens up the nails.
To repair a nail pop, 1st tap it with a hammer. If it feels spongy, that means the installer missed the stud. Pull it out, and generate a drywall screw into the stud or joist near the hole, with the head of the screw just below the floor.
If you just cannot extract the loose nail, faucet in one more drywall nail appropriate beside it so the head of that nail catches the present nail. This retains the nail from popping back again out all over again.
If a screw is producing the pop, use a screwdriver to push it in deep so it’s flush with the wall’s surface area.
The moment the nail or screw is under the drywall floor, use the back of a drywall knife to flush the drywall paper with the area, and then cover it with a coat of drywall mud.
Let the mud dry for 24 hours, then implement one more coat. Right after the next coat dries, sand it and use a store vac as you get the job done to suck up any dust.
Suggestion: Keep your nail pop repair spot as small as doable — the considerably less mud you use, the considerably less sanding you are going to need to do.
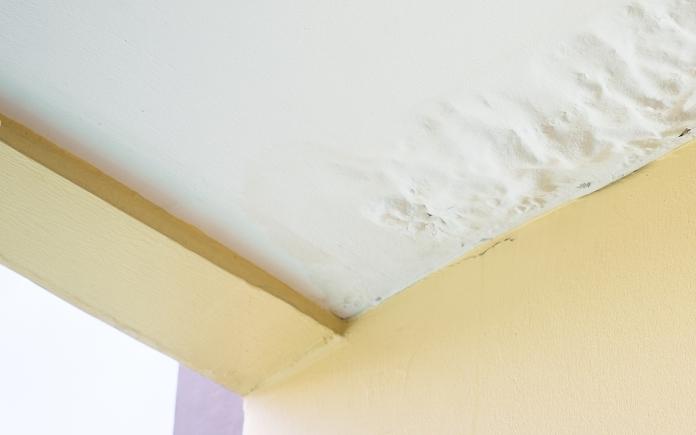
Drywall Puckering
How do you deal with drywall puckering?
Mark: Drinking water damage is the most typical trigger of drywall pucker, but incorrect set up can also lead to it. In some scenarios, the installer didn’t leave enough mud still left driving or didn’t use any in that place.
For important drywall puckering, remove the tape to patch and maintenance. Lay down mesh tape and use a refreshing coat of drywall mud.
For slight puckering, use the corner of a drywall knife to lift the unfastened tape and implement a slender layer of all-intent mud under the tape. Smooth the tape out and set a light-weight coat of drywall mud more than the edge of the tape.
For popcorn ceilings, use the identical method, but be further cautious to not problems the texture.
If it’s a major crack or older ceiling, the popcorn ceiling texture will appear off. In that circumstance, you are going to want to implement a coat of sprayed acoustic texture.
You can invest in this product in a can, but it can be challenging to implement. Abide by the directions and observe on a piece of cardboard initially.
If you cannot match the texture, get in touch with a skilled.
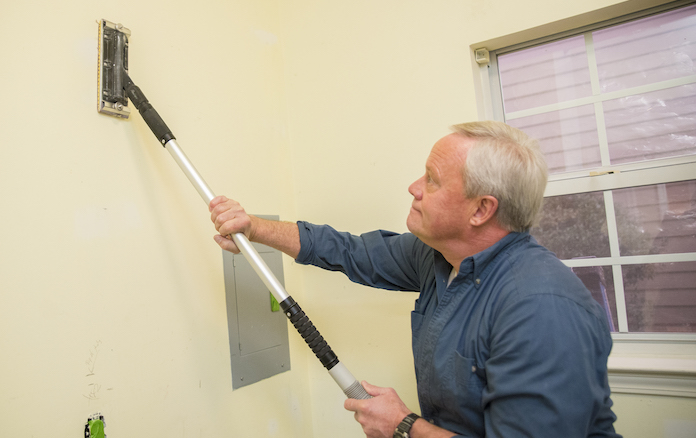
Managing Dust
What are some guidelines to lower dust when sanding drywall?
Mark: To limit the mess whilst sanding drywall, I essentially develop an oxygen tent.
Employing 2-inch huge masking tape, I encase the region with plastic. I start taping at the ceiling, then provide it down the wall and to the ground. All the things is linked.
Then, I produce a doorway beneath to crawl into. As soon as I’m completed sanding, I permit the dust settle, dust myself off and crawl out the doorway.
Generally change off your HVAC process when sanding drywall. When the vents arrive on, the plastic and dust will blow around, and the dust will function its way into your system.
Past but not minimum, often put on a superior mask while you’re sanding.
A Drywall Catastrophe
Some jobs you do not have to believe 2 times about turning down.
1 time, a builder approached Mark at a work site and requested him to glance at an additional residence in the subdivision.
No large offer, ideal? Well, completely wrong. The whole home was hung with pieces of scrap drywall. Turns out, the homeowners had been gathering the drywall from the dumpsters in the subdivision to establish the dwelling. It did not issue if the drywall was a corner piece or angled, or even soaked and damaged.
“When I walked into that property, it looked like a 2,000-piece jigsaw puzzle,” Mark said.
The largest piece of drywall in the house was most likely about 2×4 ft, and in some spots, there have been gaps as significant as an inch huge in places.
“That was a significant no from me,” Mark explained.
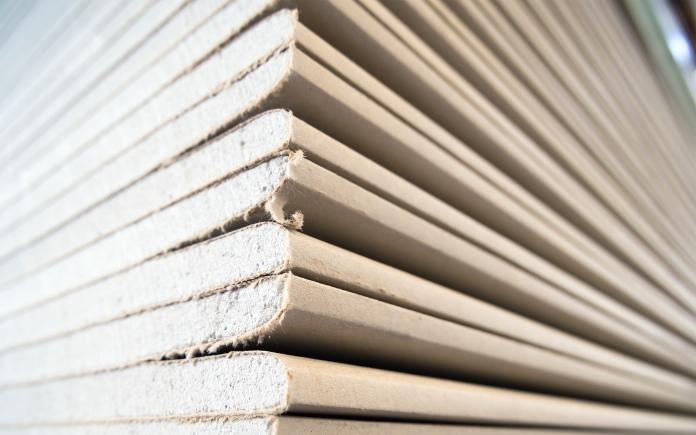
Mark’s Drywall Guidelines
- If you are performing around cupboards or baseboards, put tape/plastic down to protect those people locations.
- Make confident you’re using the suitable drywall mud. Go with a eco-friendly lid or black lid bucket. Use an all-goal mud and read through the bucket. One kind of mud might be very good for coating but not for taping.
- Be individual and perform in levels. Allow the mud dry then incorporate additional coats.
- If you’re imagining about reworking your home, attempt hanging the drywall oneself. You never know what you can not do right up until you test.
More Reading through
Ask a Concern! (Podcast)
Inquire a dilemma and we could solution it on the “Present day Property owner Podcast!” We also may perhaps use it on our nationally syndicated radio broadcast or on todayshomeowner.com.


More Stories
The Serenity of Japanese Interiors: Discovering Design Perfection
The Ultimate Guide to Choosing Home Fixtures
Hand Embroidery Kids’ Dresses